
You Really Had Me Going This Time
Posted on August 26th, 2010 in Are You Gonna Eat That?, Does All Her Own Stunts, Featured, Made In Alberta, Photos
It can be difficult to figure out what to take with you on a multi-day hiking trip, particularly in terms of food, unless of course you are content consuming “space rations” the entire time. Keeping in mind that you have to carry everything on your back, you do have to be selective about what will provide the most bang for your buck. This is not a time to worry about fat content or watching your weight, as you burn upwards of 4,000 calories during an average 8-hour backpacking trip.
We are taking 10 meals worth of freeze-dried fare, in addition to dried fruit, trail mix, couscous, beef jerky, oatmeal, fresh eggs, and Logan’s bread.
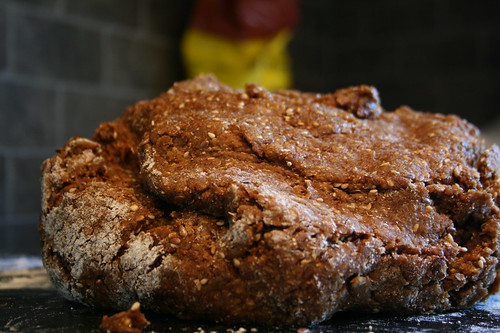
Logan bread (named for Mount Logan, the highest peak in Canada) is a dense, calorie-packed bread that lasts for up to a week in your backpack. It was developed by climbers before the age of power bars and pre-packed hiking food. There are plenty of variations to the recipe (I myself modified ours to taste) but the end result is always a durable and highly nutritious bread that will sustain you during long treks.

I loved that this recipe is all made in one-bowl, and is extremely easy to throw together the night before you depart on your adventure. Baking does take two hours, and be certain to allow time for the loaves to cool completely.
Logan Bread
(Recipe courtesy of The Canadian Hiker’s & Backpacker’s Handbook, by Ben Gadd)
*Adaptations I’ve made are added in [ ]
3½ cups whole wheat flour [or 3 cups whole wheat flour and ½ cup wheat germ]
1 tsp baking powder
1 tsp salt
1 tsp cinnamon (optional)
1/3 cup dried milk powder
1/3 cup molasses
1/3 cup brown sugar
1/3 cup honey
1/3 cup vegetable oil
1/3 cup sunflower seeds [or 1/3 cup flax seeds]
1/3 cup sesame seeds
1 cup (more or less, depending on consistency) water
Grease two standard loaf pans [or one cookie sheet, if you wish to form you own loaves] and preheat oven to 300° F.
Mix everything together in order listed. Knead by hand until it is thoroughly mixed (and holds together).
Divide into loaf pans [or divide equally into four portions and roll into slightly flattened, round loaves] and bake for at least one hour (or until it feels firm when you push on the top with a finger). Then lower the heat to 200° F and dry loaf for an additional hour [or 45 minutes if you made smaller loaves].
Allow to cool completely before wrapping tightly in two layers of plastic wrap, and a ziplock bag. Freeze any loaves you won’t be taking with you.
Keeps for at least one week.
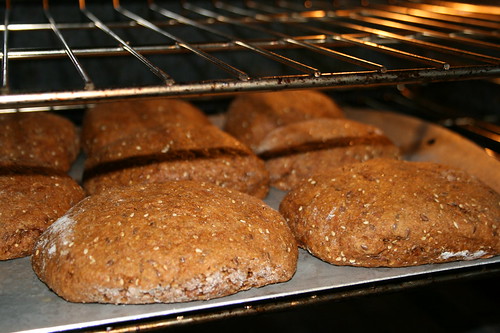
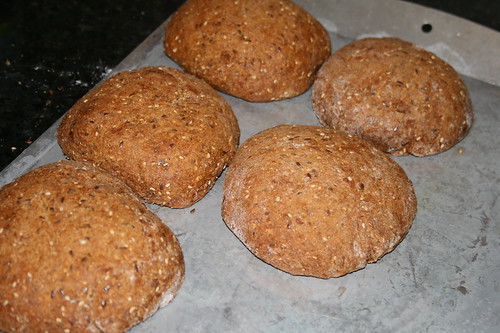
They turned out really well, and are tastier than I anticipated. I doubled the recipe so that we would have eight loaves, six for the trip and two to taste-test. They are a bit on the heavy side, but well worth the weight in the pack I think.
Dropping the kids off with my mum this afternoon, and so I’d better get a move on. Keep an eye on my Twitter and TwitPic accounts if you are curious about how our backpacking adventure is progressing.


 FetLife: BDSM & Fetish Community for Kinksters, by kinksters")


August 26th, 2010 at 1:33 pm
Sounds like this trip will be awesome. Hope you all have tons of fun!
Reply To The Above Comment